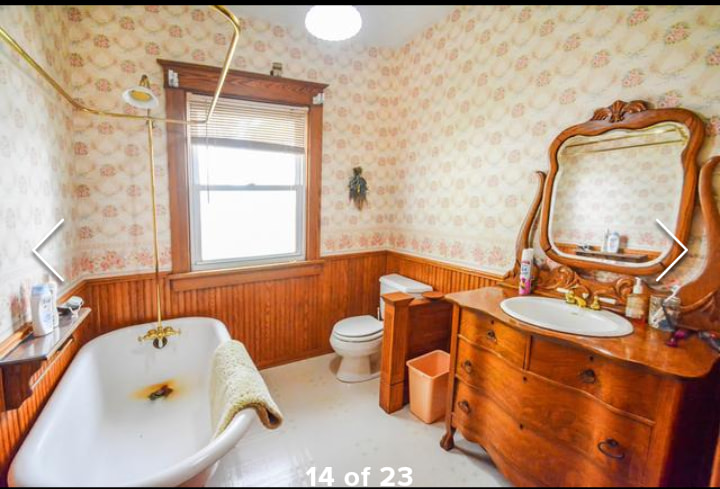
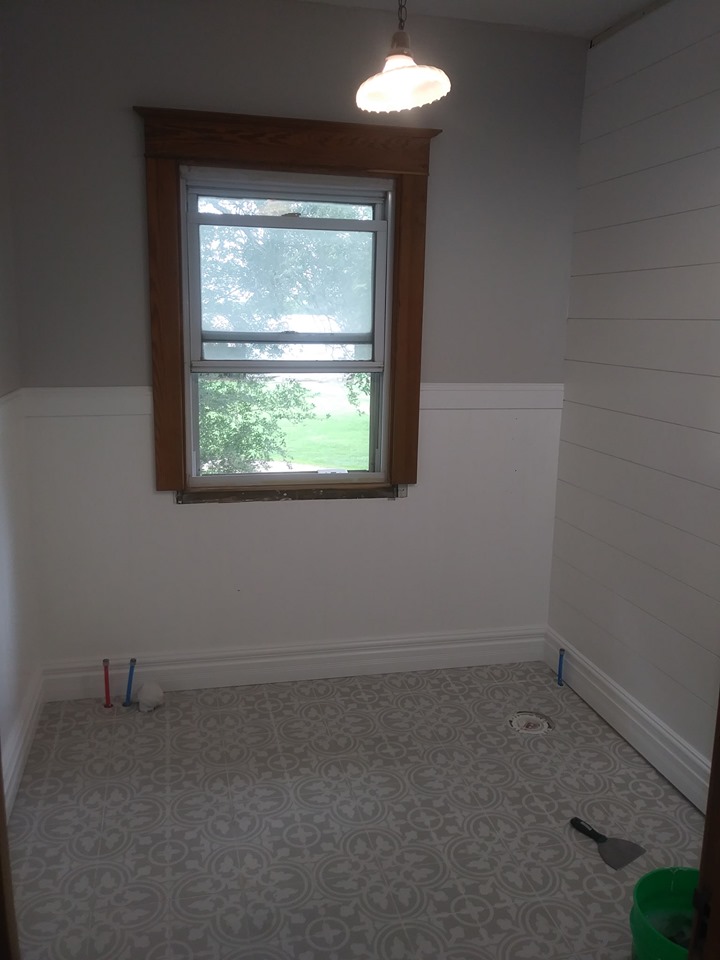
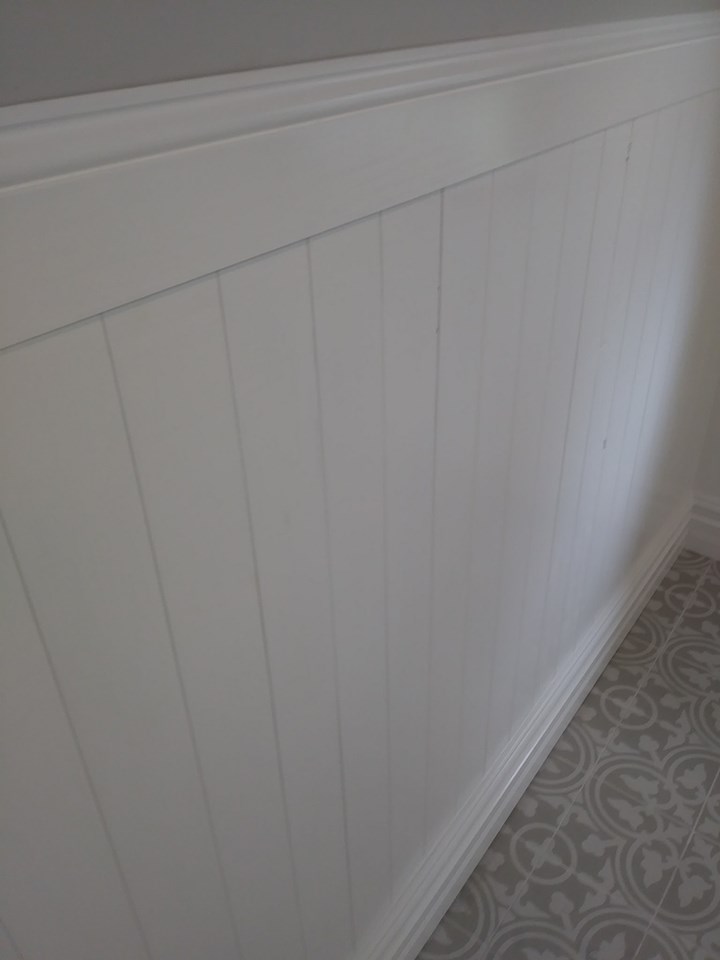
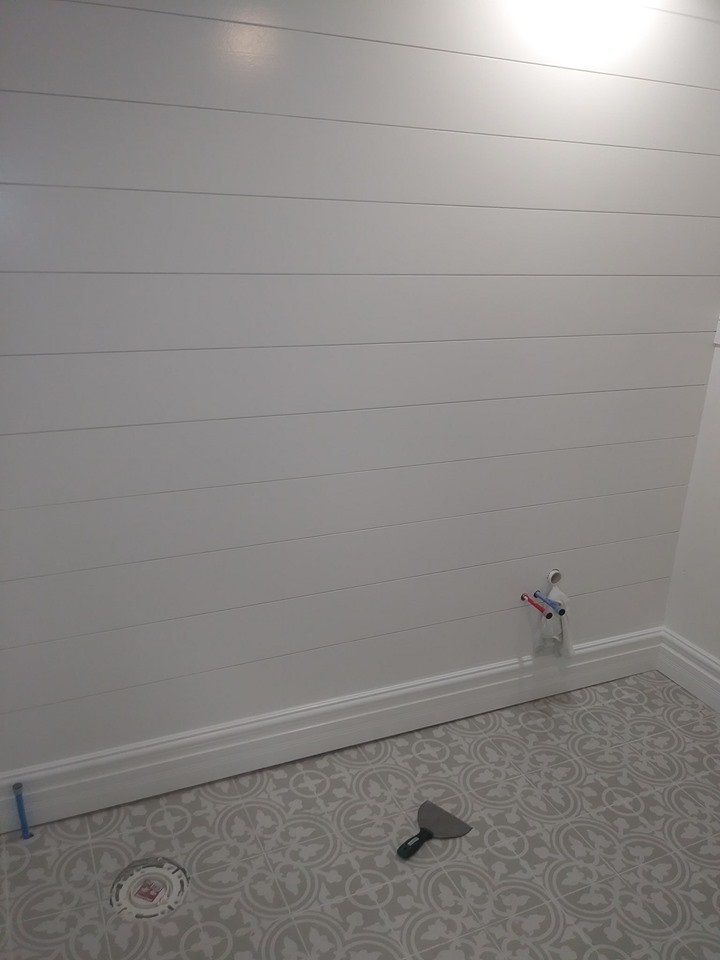
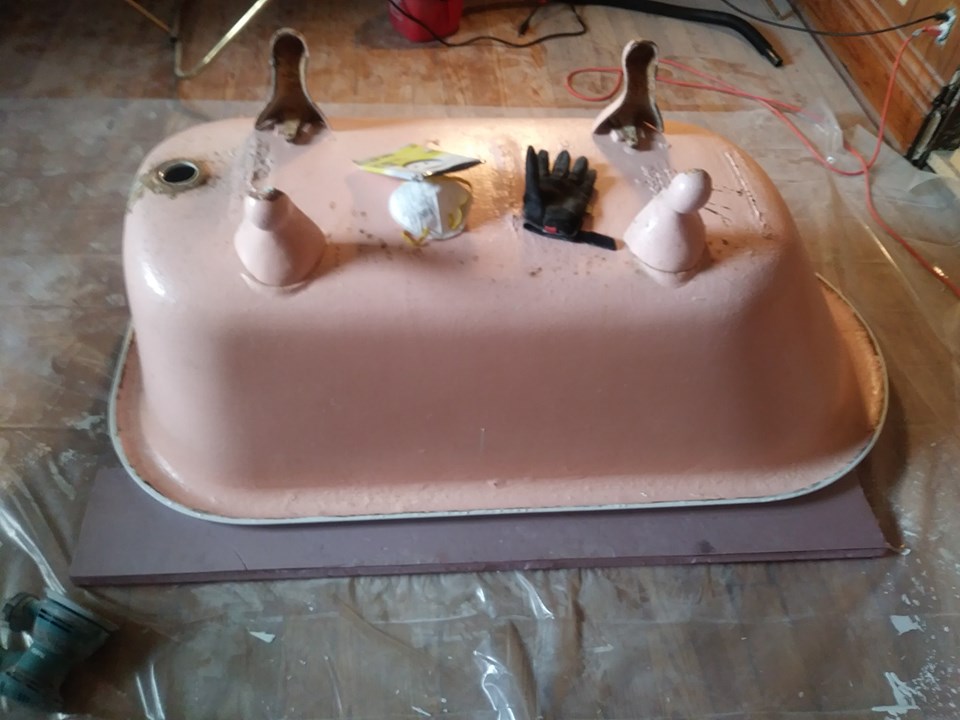
Whew! Its been awhile and we’ve done many projects! Now that we’ve gotten a lot done, I can get back to a little normalcy and start blogging again : ) But first, well begin again with the Master bath. This is the before. Although I do like certain aspects of the Bathroom, its a bit to country for me and wayyy to much wood. I prefer a Modern Farmhouse/Cottage style so I went to work steaming all that wallpaper off and painting! My Hubby did a great job on the rest of this room by adding wainscoting, a shiplap accent wall and floor tile.

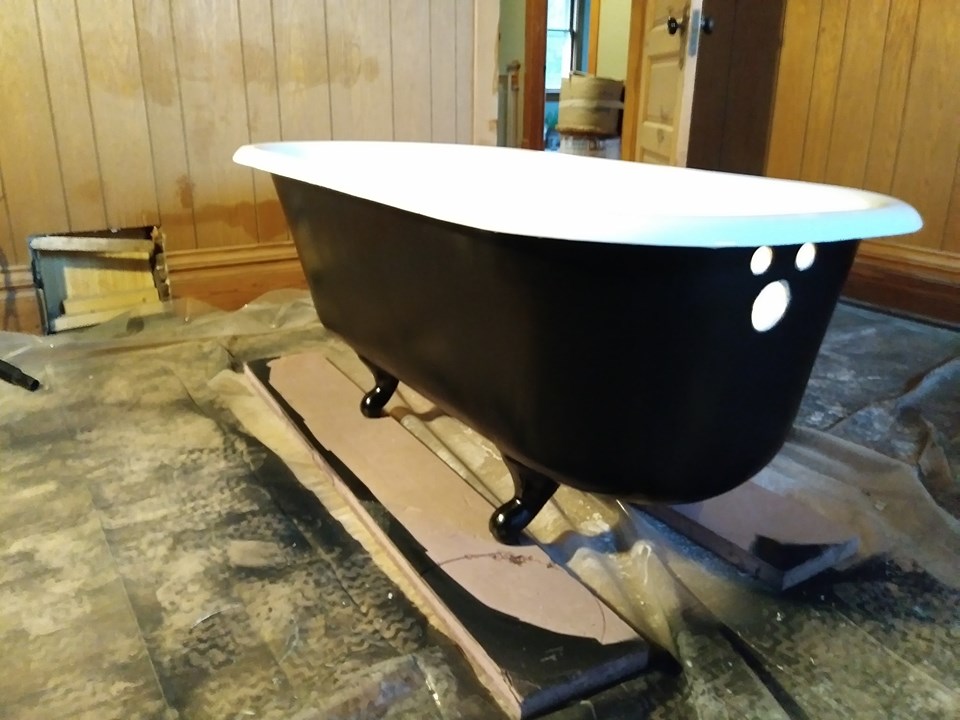
Now for the newly refinished claw foot tub! Hang tight! This is a long post. Here she is before:
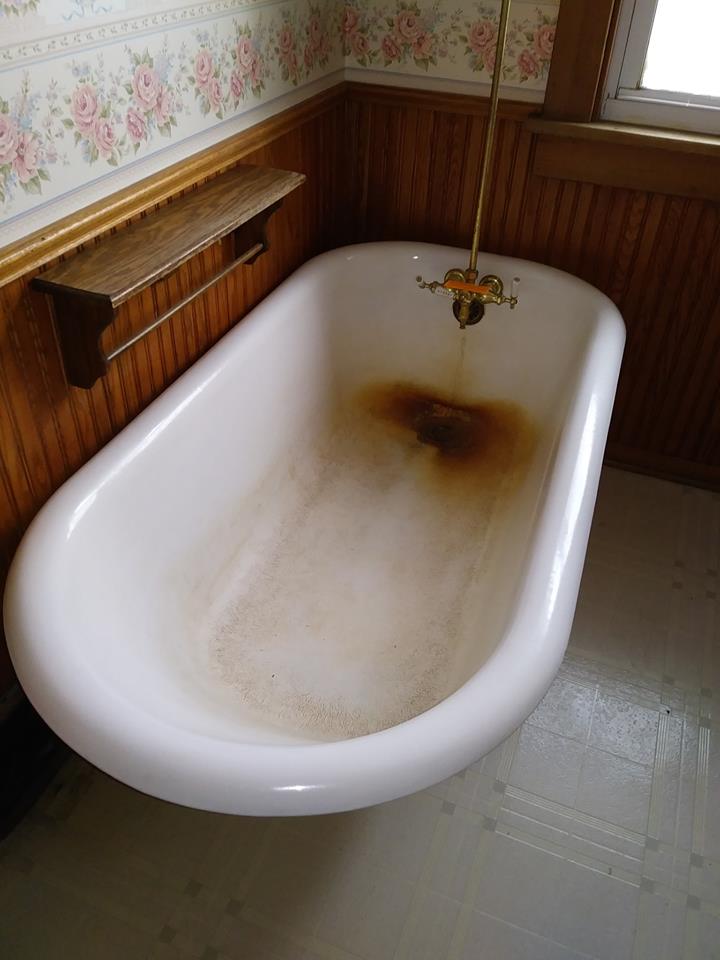
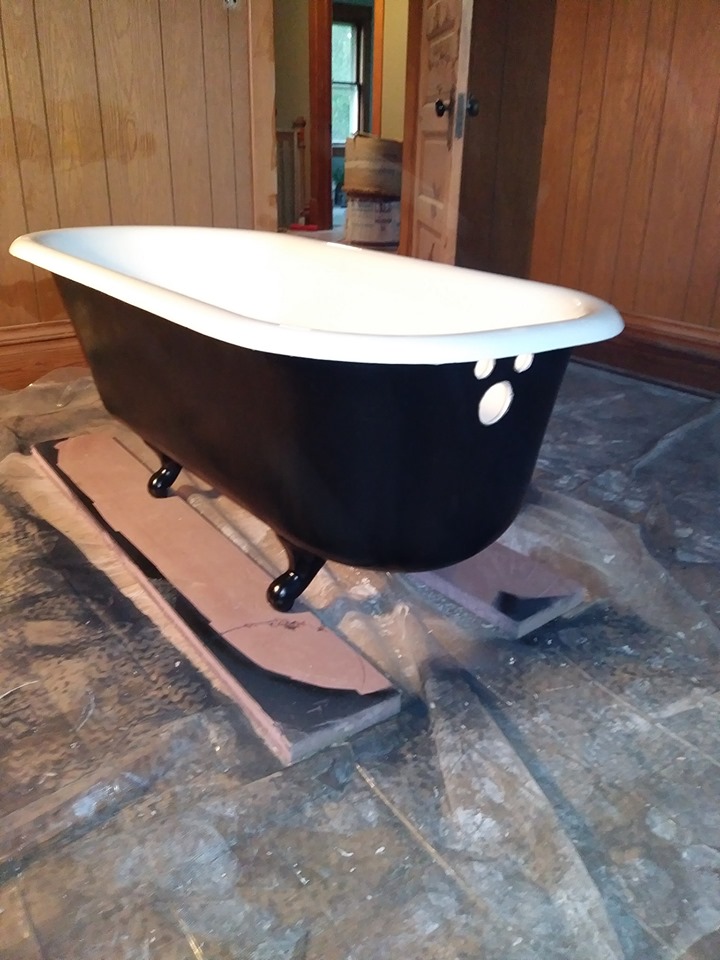
Being hopeful that perhaps it was just rust deposits from the well water, I got to scrubbing her down with toilet bowl cleaner (I used Lysol with bleach). Toilet bowl cleaner is a good start because it has a light amount of acid which will also etch the tub (you’ll see why soon) ***Do not clean your cast iron tub more than a few times with this stuff in its lifetime. It will wear down your porcelain finish and I only used it because there was heavy staining and I knew I more than likely would have to patch the exposed iron later on*** She had good bones and cleaned up well but after I scrubbed her, there was still heavy pitting on the interior and the porcelain had worn off to reveal the cast iron underneath.

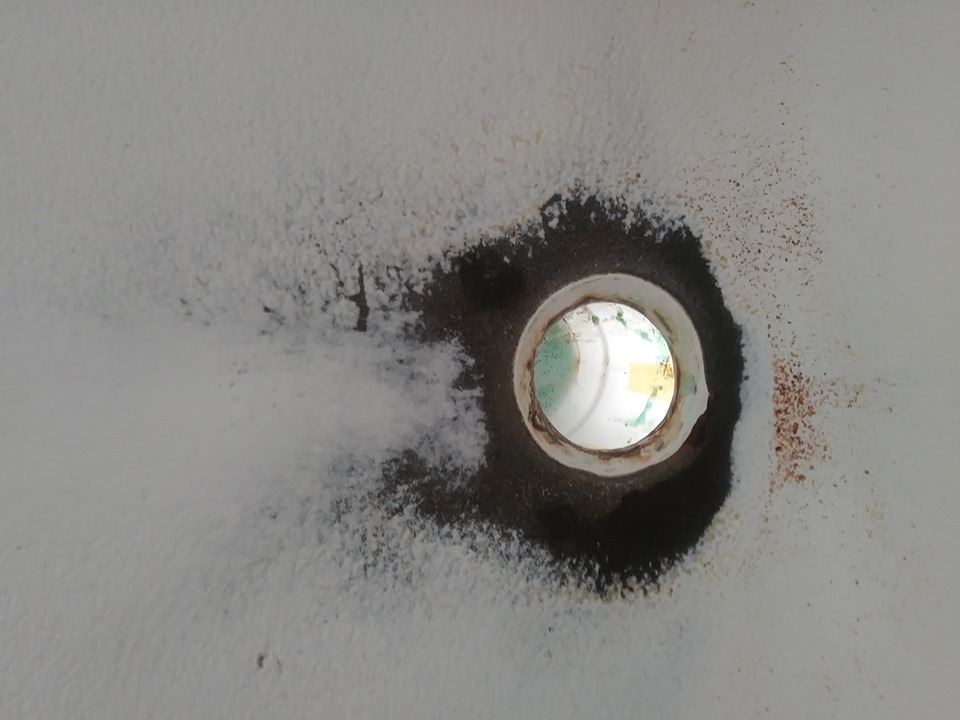
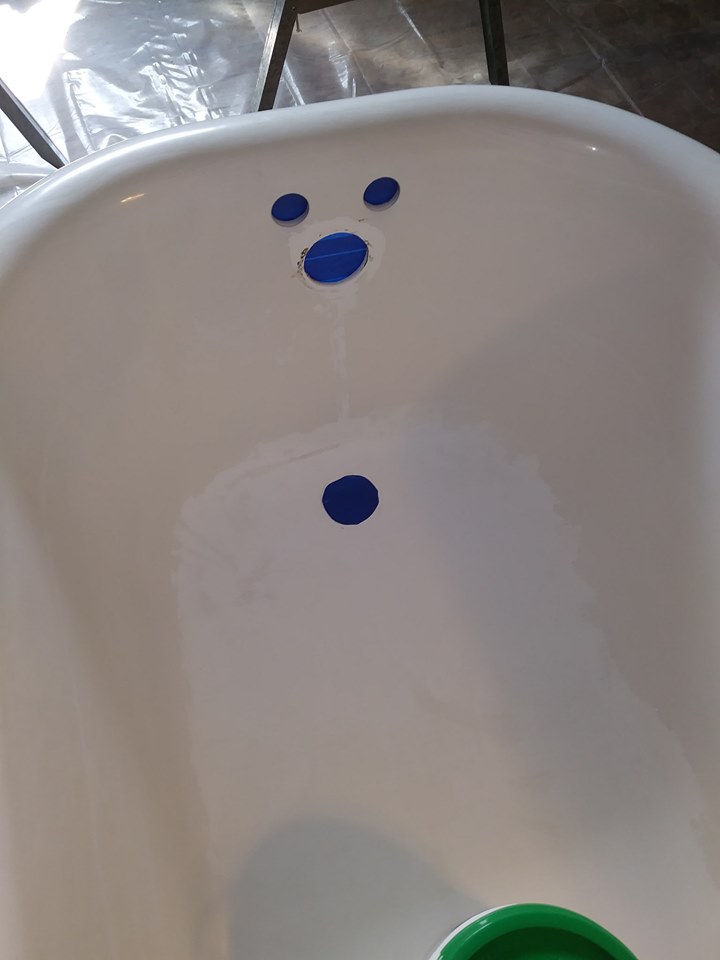
I was totally not satisfied with leaving it like this so I got to work doing some research on patching this tub up! The hardest process of this whole project for me was the Prep! Prep and Prep and Prep LOL! I could have went with car Bondo but I really wanted something designed to be in water constantly. Hmm, What is in water constantly? That’s right, BOATS! I decided on a Product called Marine Tex (You can purchase it here) which is an epoxy resin…Now before you think im crazy, Marine Tex is not normally used for Bathtubs BUT it is used to repair holes in boats. With that logic I figure it has to be pretty damn durable to keep boats afloat after repair AND you can even apply it under water if need be! I decided to get white hoping it would match. You can get epoxy tints and mix small amounts of yellow and brown or black in to try and get the exact white for your tub but I was impatient and thought the tub was pretty white after I cleaned her so I hoped for the best. I knew I wanted to patch the entire bottom to get rid of the pitting and wear, so I ordered the large 1 lb Marine Tex kit and these handy flexible Spreaders in three different sizes to better fit the contour of my tub while spreading the epoxy. I lightly sanded my repair area with 80 grit sand paper. I wiped the entire tub clean, dried it and then wiped it with Acetone to make sure there were no grime or grease spots I may have missed. Make sure that there is NO dust near you or floating around in the air. You don’t want anything getting into your wet epoxy and destroying your finish. I taped off the area with painters tape as a guide to show where I wanted to repair it with the epoxy. MAKE sure if your tub is still attached to plumbing to cover the drain hole with tape also and make sure there are no drips coming out of the faucet. You dont want water near the epoxy! When the Marine Tex came I followed the instructions to a tee. I put on rubber gloves (You dont want this on your skin) I scooped out all the white epoxy onto a large plastic cutting board (any hard plastic will do, the object is to mix the epoxy and hardener without it getting everywhere) with the handy “Popsicle stick” that was included. I then poured on the hardener and stirred and scrapped it foreverrrr.. This stuff is pretty hard to work with. Its like extremely sticky, year old, Marshmallow fluff on crack, But once you keep stirring, it loosens up. You only have a limited time to mix and spread it on before the hardener starts to set, So I went to work and spread it as best I could. TIP1: bend your plastic spreaders back and forth first to break in the plastic. It makes them more flexible to spread the epoxy. TIP2: Try to spread the epoxy as thin as possible but still leave enough to cover the repair. If you don’t, you’ll make more work for yourself when It dries because you’ll have even more sanding to do. Here is a Picture after I spread the epoxy. I waited about 15 minutes after I finished spreading and pulled off the painters tape.
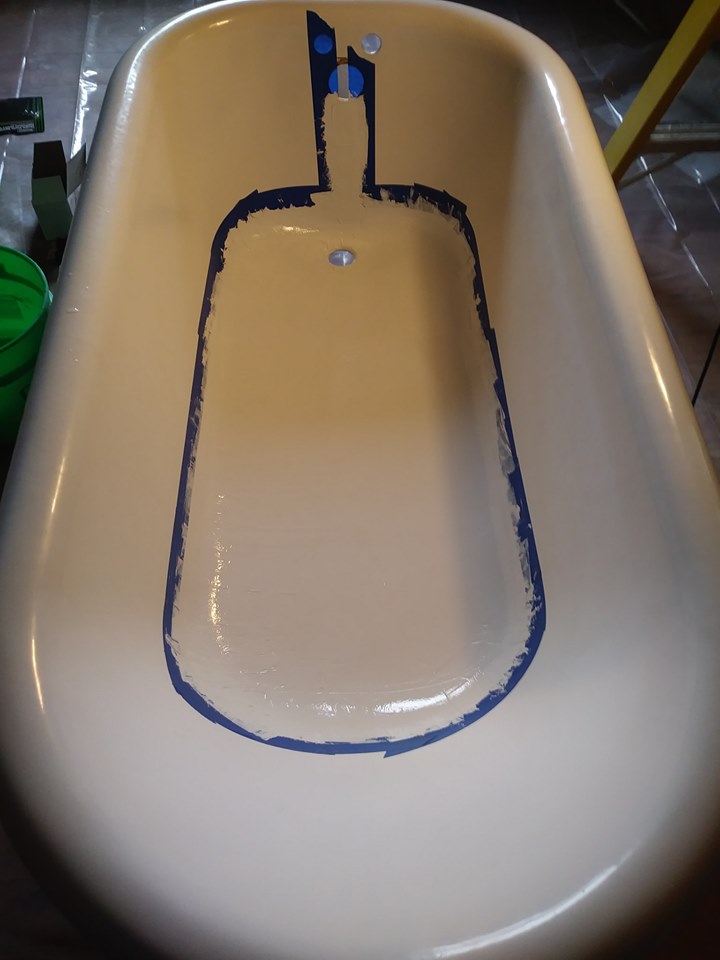
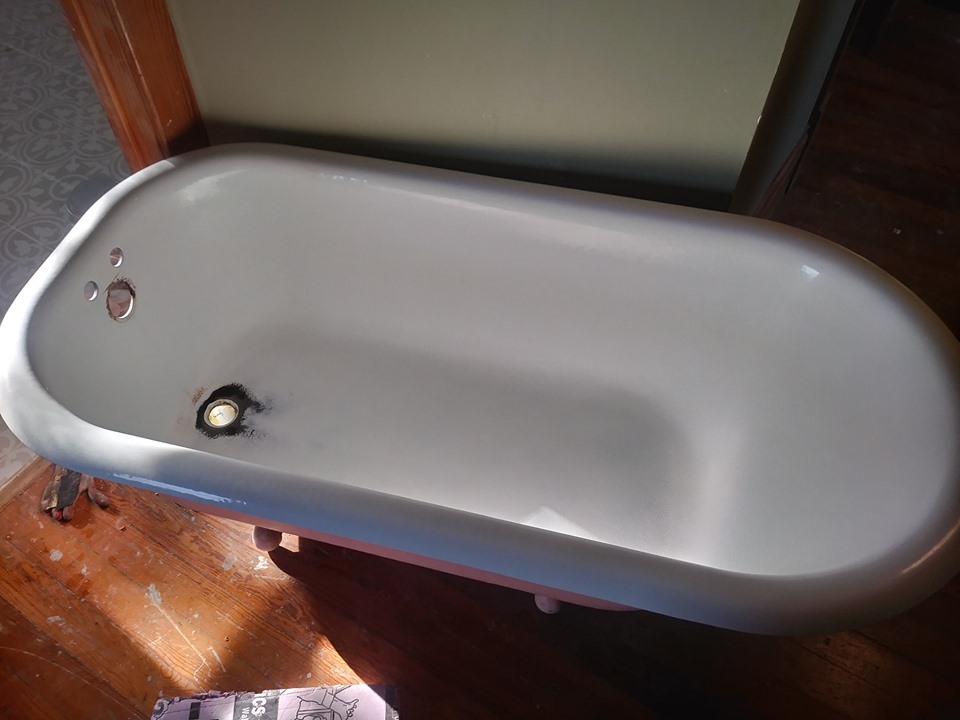
Looking at it like this I was pretty sure it was the perfect white and id have to do no more YAYY! at this point I was pretty damn proud of myself! but alas it wasn’t the correct white after it dried. I used 80 grit sand paper (wait at least 24 hours to sand) on an orbital sander to get the epoxy smooth after it was dry ..Over kill? perhaps, but epoxy is VERY hard to sand so I figured id save my arm and get it mostly done with the sander and finish hand sanding with 80 grit to feather it in on the sides. You can also use a mouse sander if you’re more comfortable but it will take longer. here she is all sanded!
Sooo movinggggg along.. As you can see I couldn’t leave it like this. I just couldn’t so I set out yet again to get the best damn Pour on epoxy resin I could find! I didn’t want that spray on paint stuff that you can get at a home store for a quick fix, I wanted this to last forever or 20 years according to the epoxy I choose. I got the stuff used by Professionals and saved probably around $1K or more by not having to hire someone. I choose Ekopel 2K available HERE Again I lightly sanded the entire interior of the tub this time. I rinsed it out, wiped it dry and wiped it again with Acetone. I also taped the faucet and drain holes so I didn’t get the epoxy everywhere. This stuff is messy as hell so cover anything around you too. Just as above, MAKE sure if your tub is still attached to plumbing to cover the drain hole and faucet with tape also and make sure there are no drips coming out of the faucet. You don’t want water near the epoxy! also no dust whatsoever! (I know I sound like a dictator but I promise its important) Pour the hardener into the epoxy and stir for ten minutes. Set a timer. Really! Its needs to be smooth and you need to really make sure its incorporated or it wont set properly after you pour it. You don’t want tacky epoxy that will never dry. You have to use a sturdy paint stirrer to mix. It cant be any type of hand mixer or you’ll create bubbles of air in your epoxy. You’re terrified now right!? I wasn’t yet until this point. After you stir for ten minutes, you set another timer for an hour and 45 minutes. This is all the time you have to make the interior perfect. (Now I started to pray to Jesus!) I poured on the epoxy and spread it with my plastic spreader. I’ve attached a GREAT tutorial here of what I watched a million times to prepare. I did not use a roller and I used a hair dryer to pop the bubbles. Feel free to ask me any questions! Ps wear proper shoes unlike me. Remember I said that you don’t want this on your skin!? Just scrub the skin off your bones with Acetone If this happens LOL! Really its not that bad but it will ruin your Pedi…
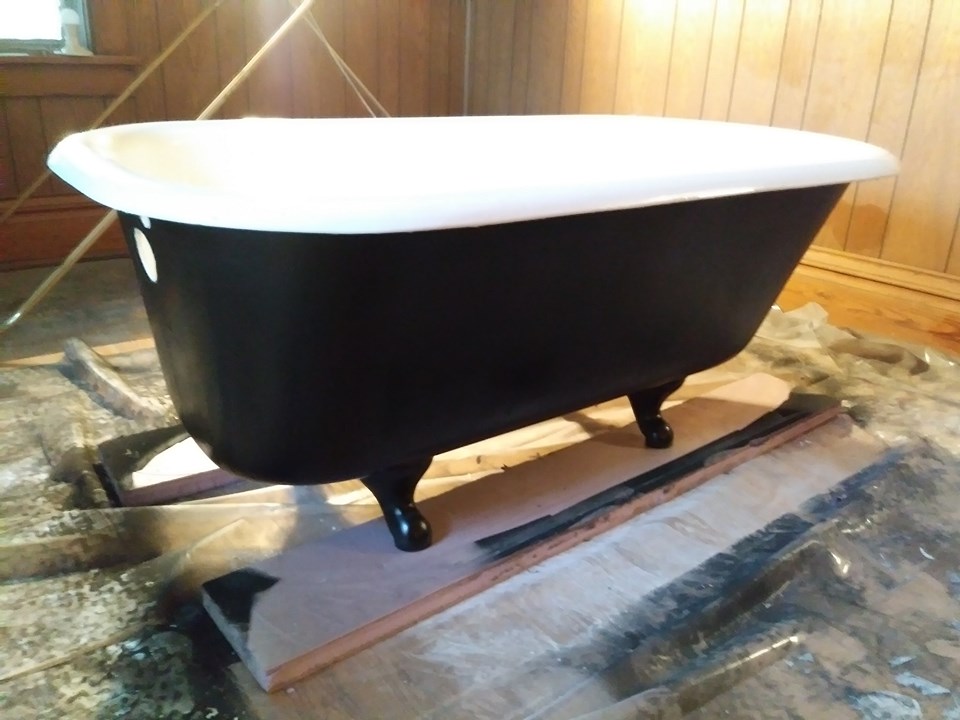
Ok, It came out great! Thank you sweet baby Jesus! I waited days before I touched it again. I think it says it hardens within 24 hours but I wanted to be sure.

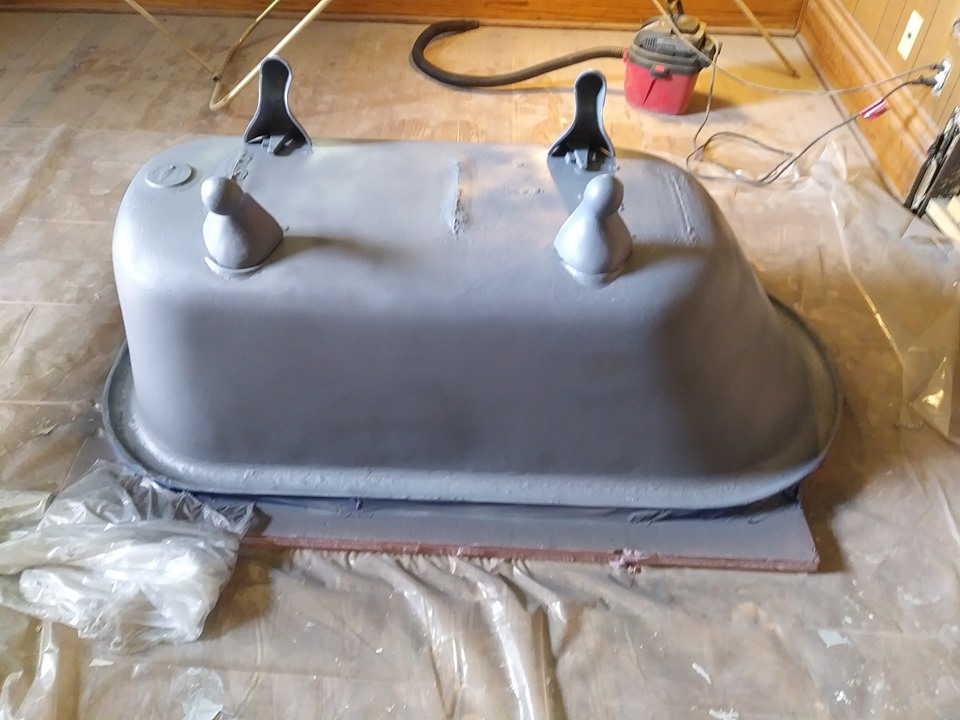
Ok Now for the finish, I flipped it over making sure nothing on the floor would mare my new epoxy finish. Some people pour epoxy on the exterior as well but I didnt want that. I sanded AGAIN with 80 grit on the exterior. Wiped it clean. I taped off any area that I thought might get paint on it including the faucet and drain holes again. I choose to use Rustoleum paint and Primer. You can get this in a liquid form on roll on or use a paint brush but since my tub isnt yet connected to plumbing, I was able to use the spray without worrying about it getting all over the decorator bath towels ; ) and here you have it..2 coats or Primer and 3 coats of Black Semi Gloss
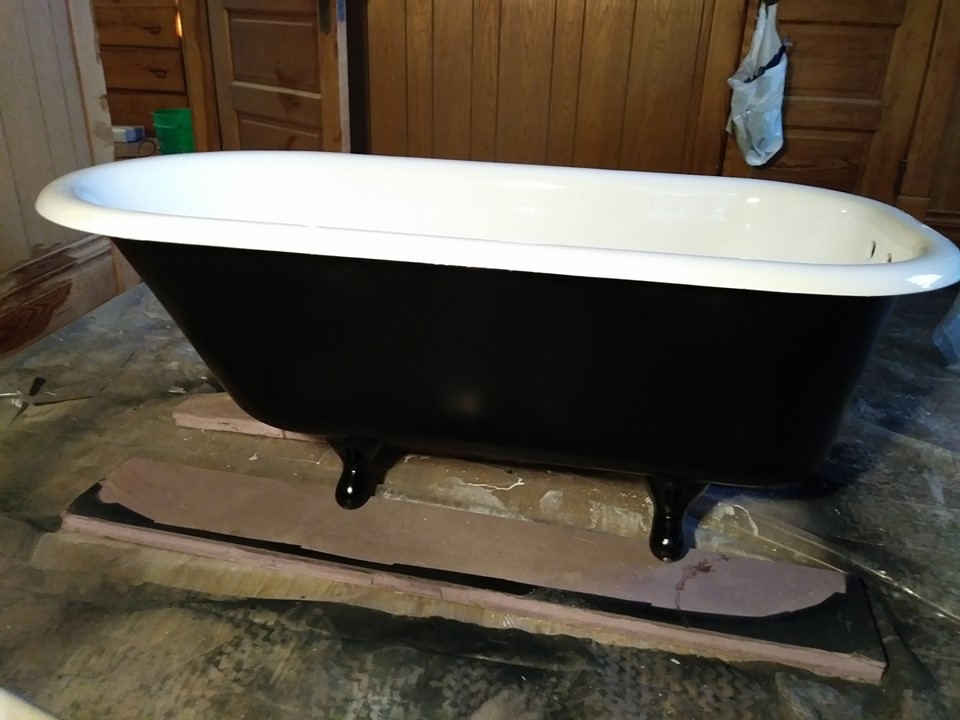
Meet Esmerelda..Meow!

PLEASE NOTE: I was not paid to reference any of the products I used. All opinions are my own. Happy Refinishing!.. : )))


Just what I was looking for, now a question once you saw the Marine-tex white was different from the bath, you then used another apoxy but you did not say what that was….why did you not just coat the entire bath in Marine-tex? Many years ago I coated all the walls in the bathroom (head) of my yacht, it is still wonderful now 35 years approx later…I did get it on me and developed a terrible reaction but I want to repair an old claw foot tub that is terrible shape
LikeLike
Hi Amelie! I’ve updated the post with a link of what I used. The Marine-tex I used is a very thick, bondo type product that is very hard to sand smooth and is normally only used to repair areas of boats. The entire Tub wasn’t damaged so I only used that on the areas that needed it. I then bought pour on Epoxy (Ekopel 2K) for the entire Tub because it was much easier to work with.
LikeLike